Upload your MP3s to server. Web Based Uploads only. Enable and configure SHOUTcast Auto DJ at products without centova cast control panel.
For FREE SHOUTcast accounts only:
a) Each mp3 must be smaller or equal to "Maximum file size" (5MB).
b) Convert all your mp3s using BitRate: 128 Kbps, Sample Frequency: 44100 Hz and Bitrate Mode: Constant or...
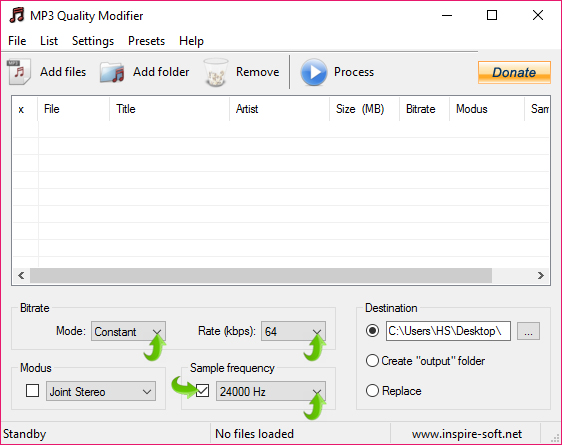
Convert all your mp3s using BitRate: 64 Kbps, Sample Frequency: 24000 Hz and Bitrate Mode: Constant.
Mac and Windows Users: Use iTunes for mp3 conversion or..
Windows Users: Download MP3 Quality Modifier for mp3 conversion.

UPLOAD MP3s
1. Login to ShoutCast Control Panel.
2. Go to AutoDJ Control Panel
3. At left under AUTODJ click "MP3 Upload & Playlist".
4. At right click "UPLOAD" and upload your mp3s.
CREATE PLAYLIST
5. At left under AUTODJ click "MP3 Upload & Playlist".
6. At right click "PLAYLIST" > "NEW PLAYLIST" > Drag & Drop MP3s to create your playlist and click "save".
ENABLE AUTODJ
7. Return to ShoutCast Control Panel.
8. Click "EDIT ICON" to edit your ShouCast Server.
9. At "Enable AutoDJ" check "Yes" to enable AutoDJ.
10. Click the button "Commit Changes" to save.
11. Click "START ICON" to start your ShoutCast Server.
Please keep in mind that to connect your live streaming software for a live broadcast, you must first disable your AutoDJ. So, at previous step 9, at "Enable AutoDJ" uncheck "Yes" to disable AutoDJ.

